

How to connect Apple Business Chat
Create your Apple Business Chat account and connect it to JivoChat so your visitors can start conversations with you directly from Maps or Siri. Additionally, this integration allows you to replace our chat on your website with Apple Business Chat for visitors using iPhones and iPads. Such visitors will always be in touch via Messenger and will never miss their replies!
To connect Apple Business Chat, you will need to create an Apple Business Register account.
To get started, create an Apple Business Register account by clicking here.
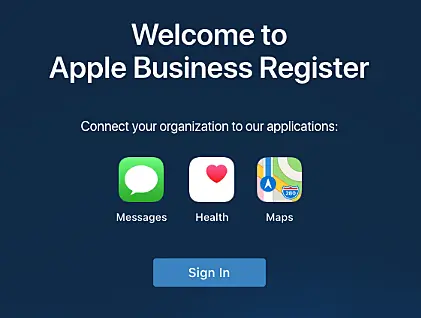
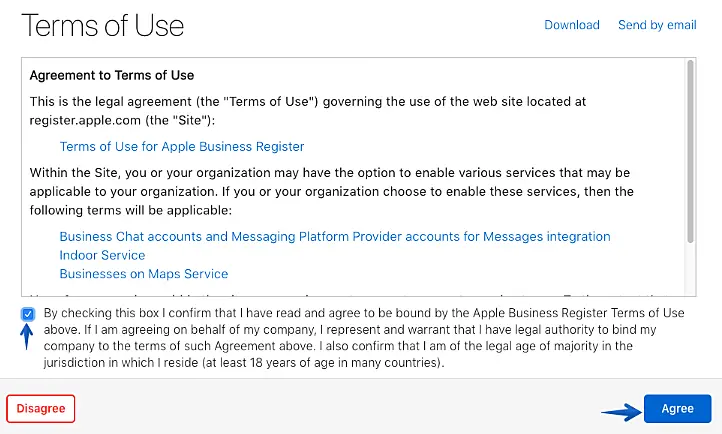
Click the "Sign in" button to register -> Enter your Apple ID -> Accept the terms of use.
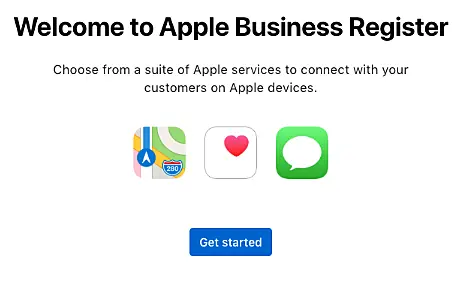
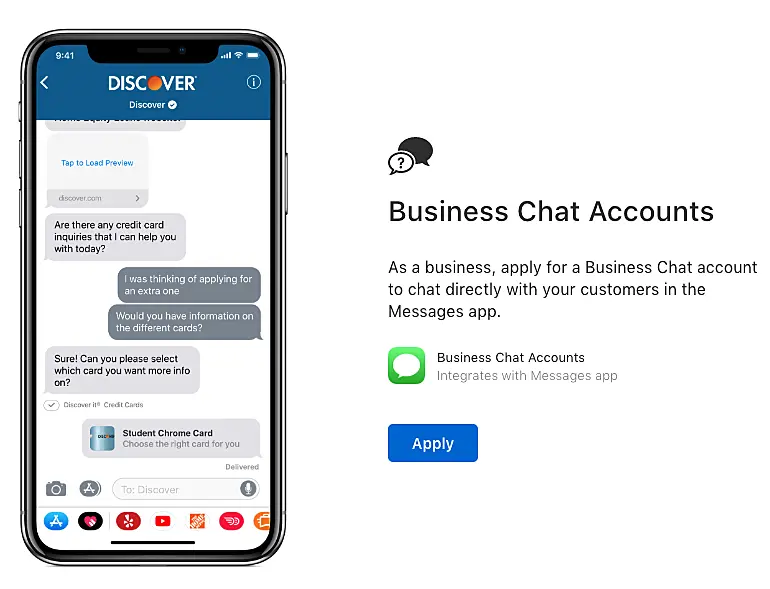
Proceed to create the Apple Business Chat account.
On the next screen, find the option "Business Accounts for Messages" in the list of services and click on "Add service".
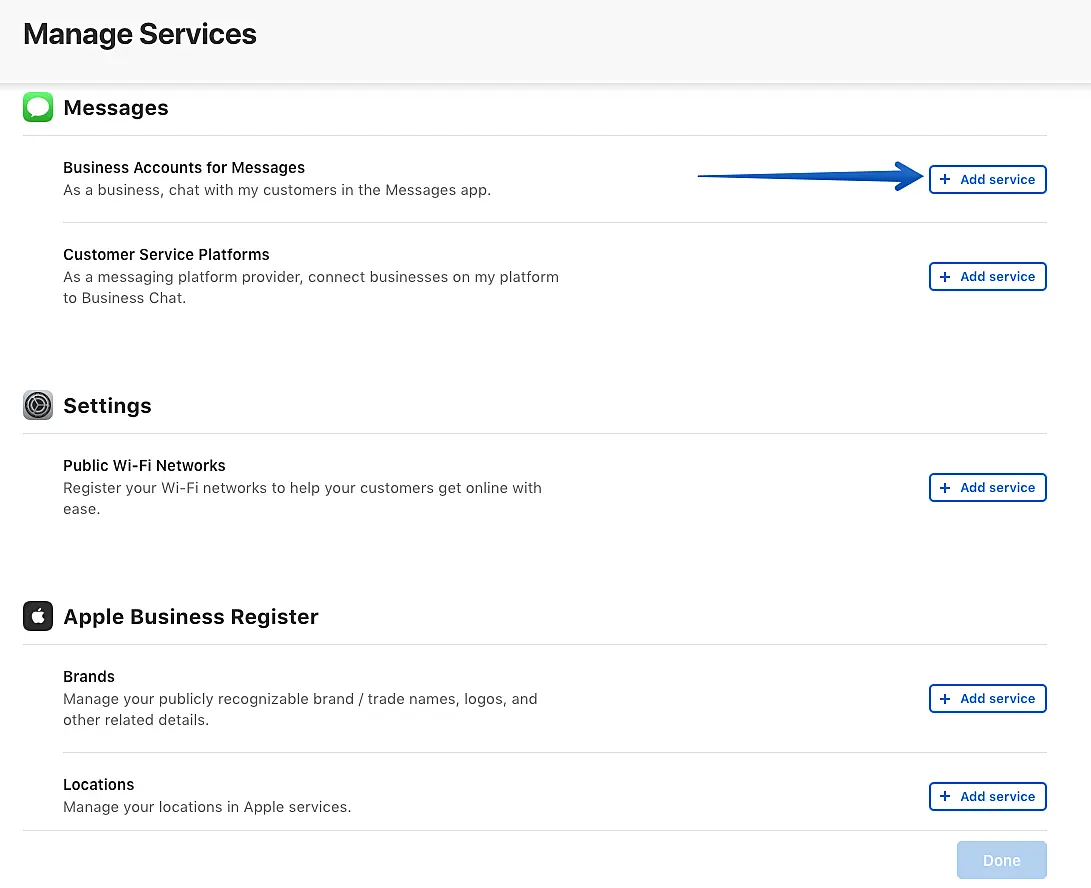
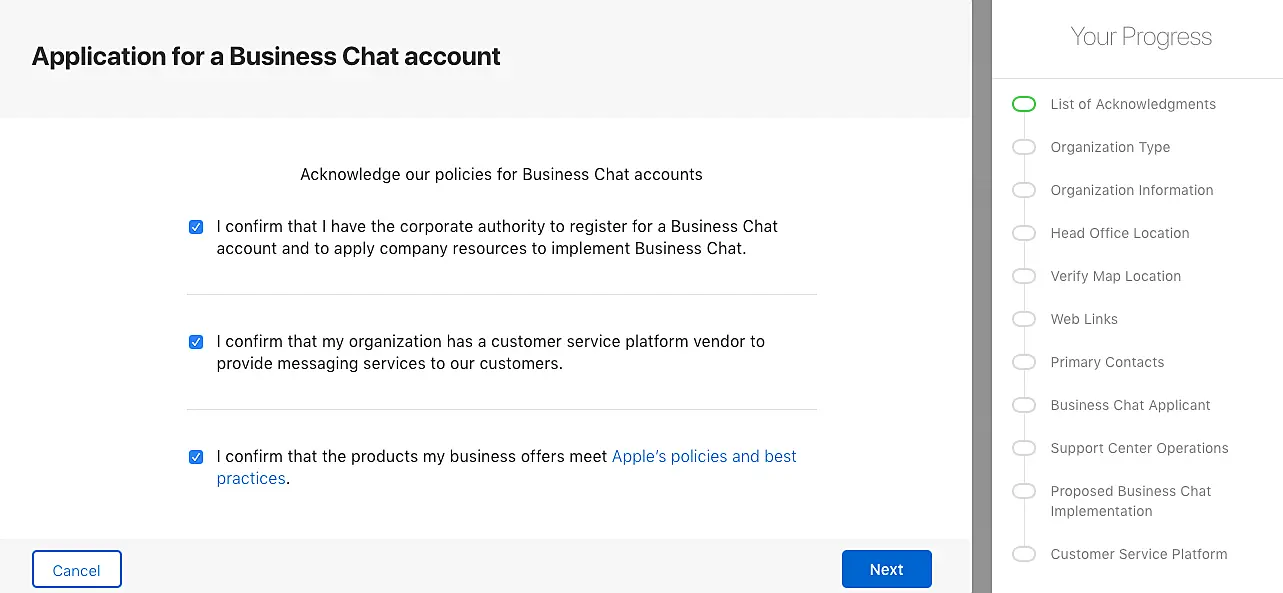
Click "Apply" and then "Next" to continue.
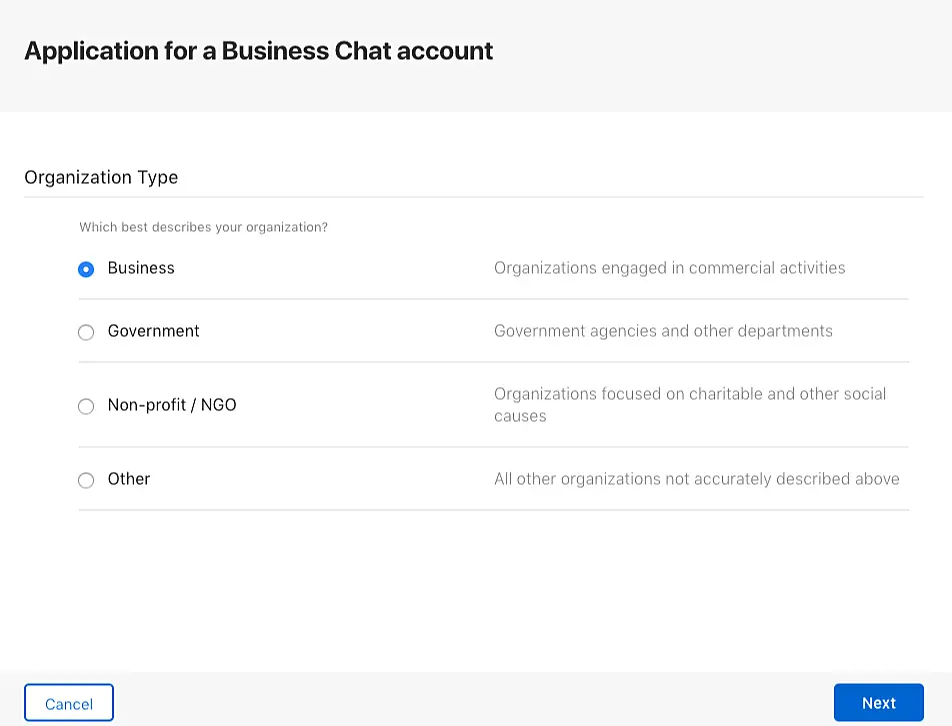
Select your organization type.
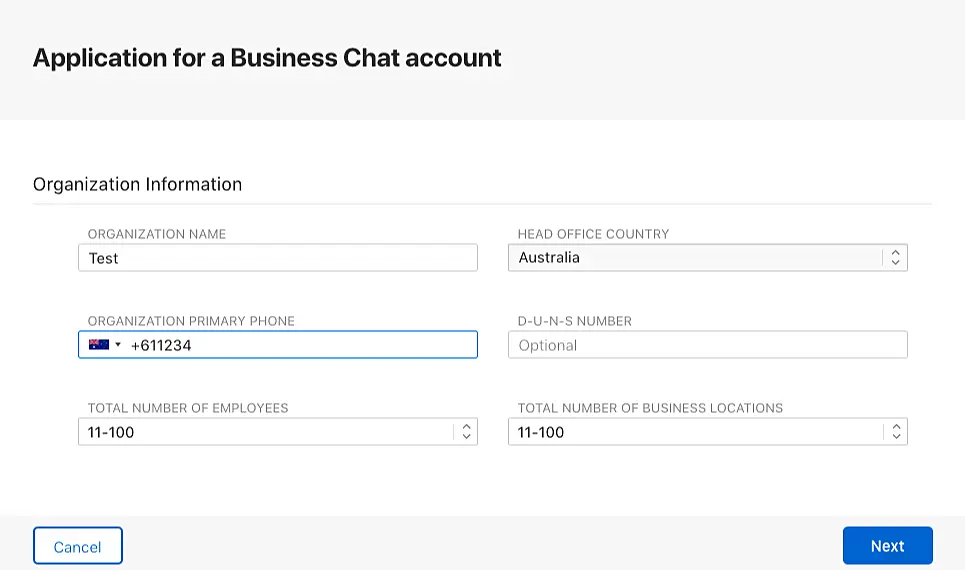
Enter your organization's name and contact details.
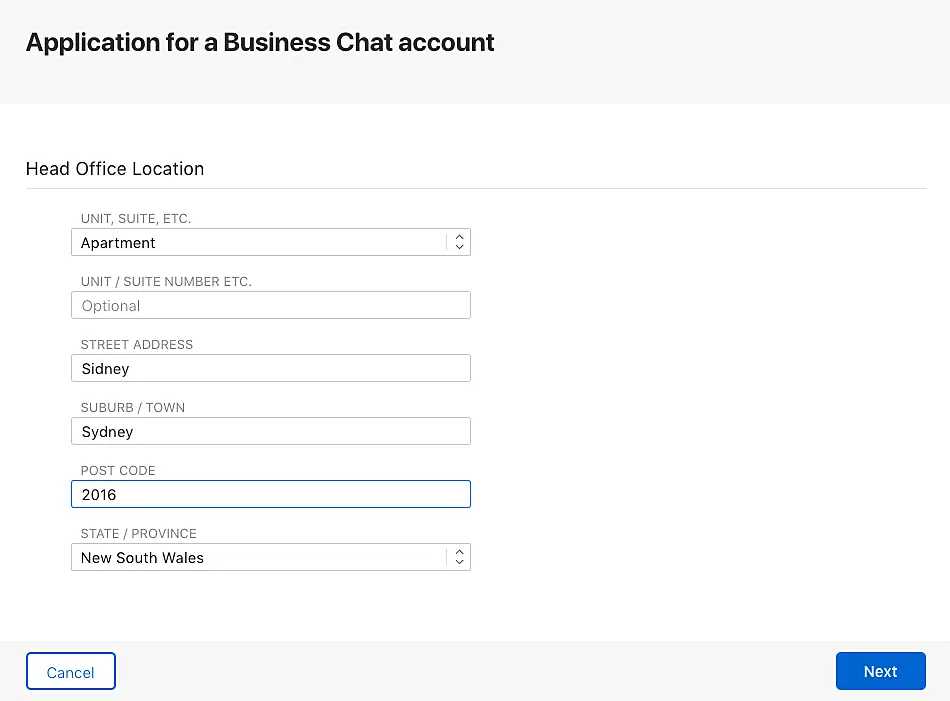
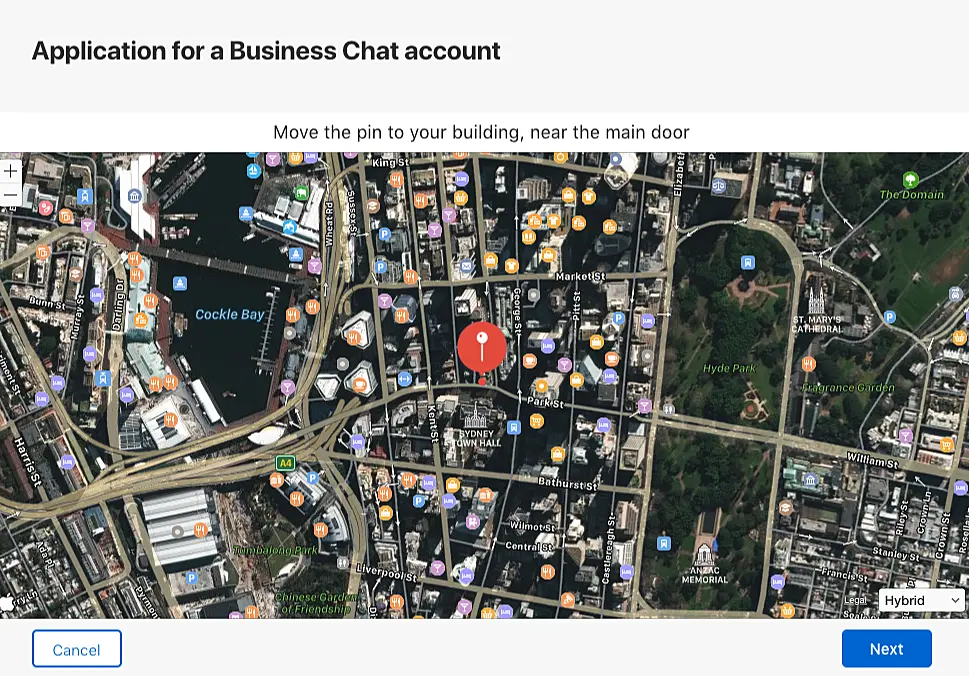
The next step is to mark the location of your organization's office on the map, if you have previously selected that your organization has an office.
Add your website address and social media links, if needed.

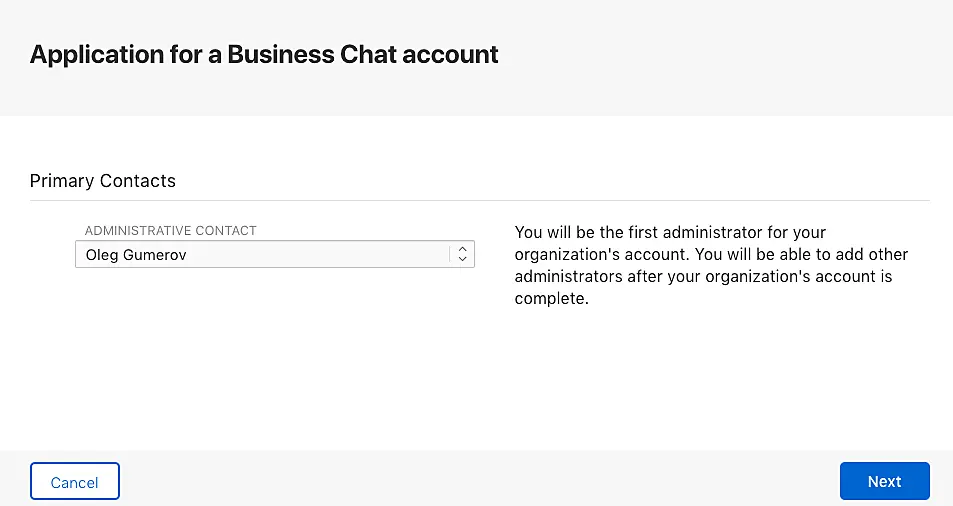
You will now have to select the account administrator. This user will be able to make changes to the organization account and add new users. By default, this field contains the Apple ID of the user who is registering.
Now select the technical contact: user who will be able to help you with the configuration. For example: your system administrator.

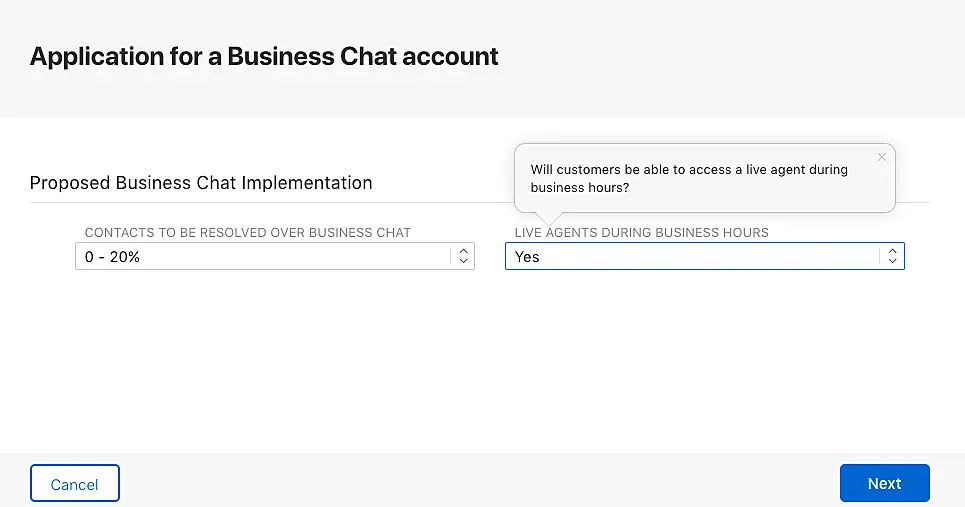
Specify an approximate number of customers who will contact you, as well as the number of operators who will work in the chat.

In the next step, select how many chats you expect to process through Business Chat and whether operators will answer chats in online mode or not during business hours.
Select which platform you will use to work with the chats. Type "JivoChat" in the search field and select our platform.

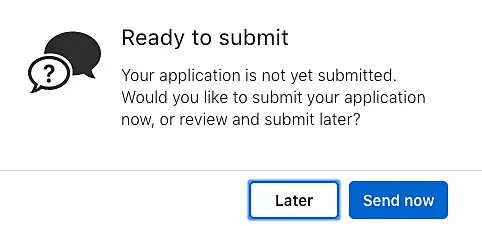
After entering all the data, you can submit your application for approval. However, it is recommended to postpone the submission and fill in some additional data before submitting it. Click "Later" to defer sending.
You will see a screen with the data previously filled in and some new fields.
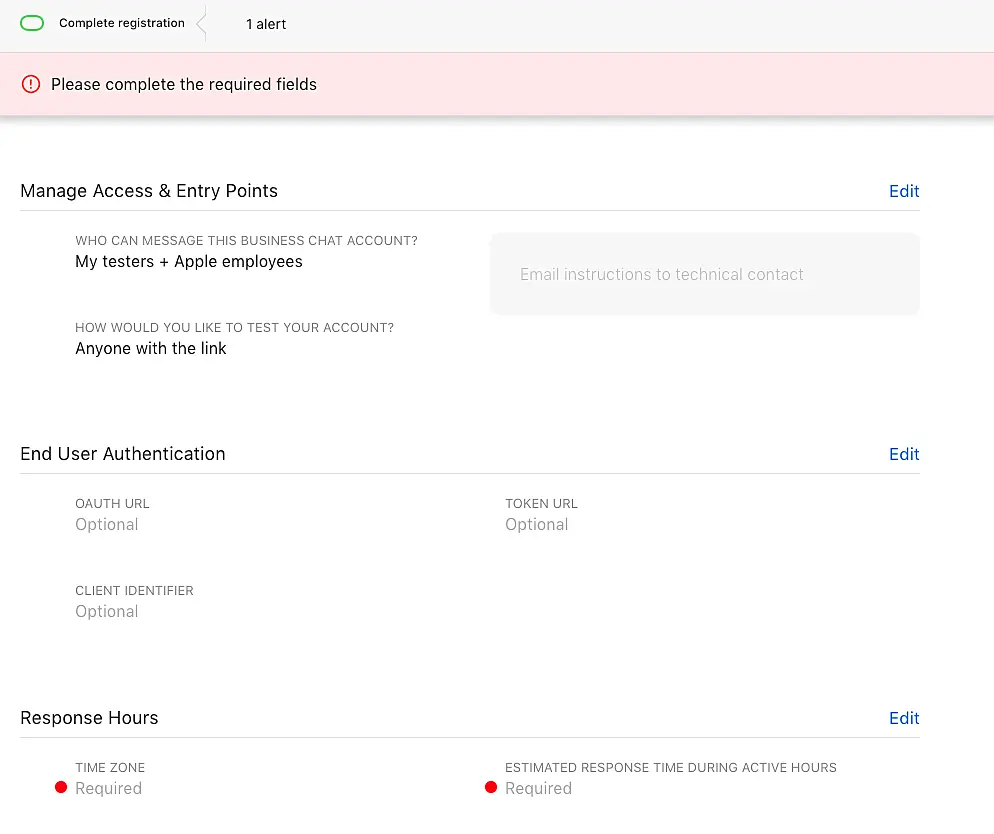
First, configure the working hours of your operators by clicking on "Edit" on the right side of "Response Hours".
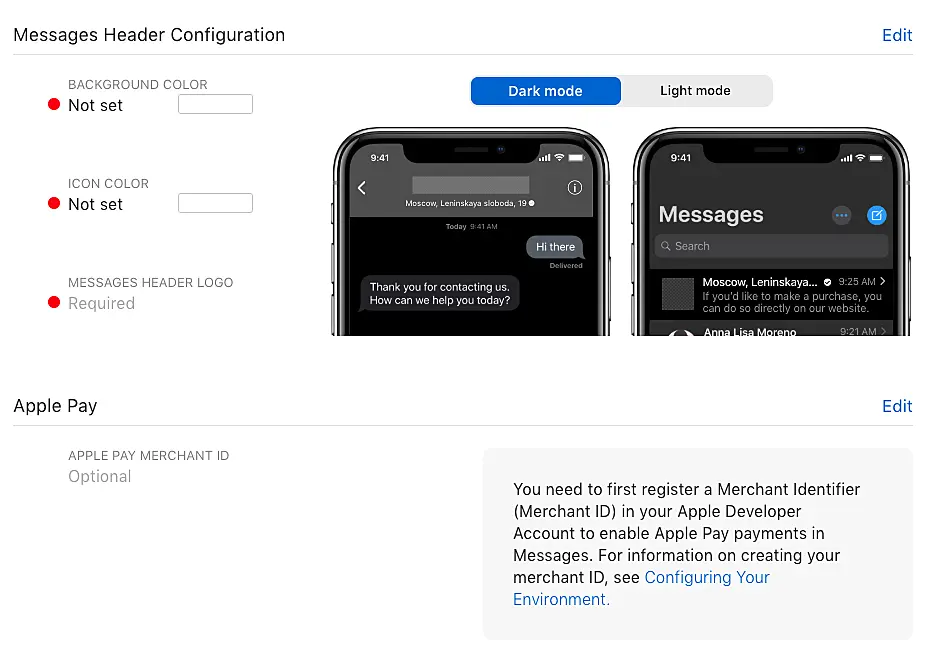
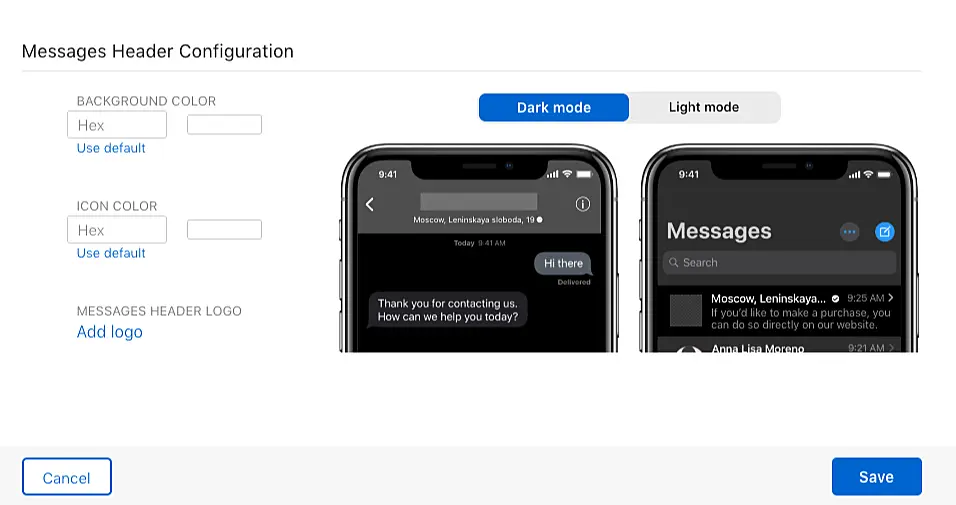
Then, in the "Messages Header Configuration" section -> configure the header colors of your Apple Business Chat dialog window, the chat navigation buttons ("Info" and "Back") -> upload your logo.
After configuring everything, you will be ready to send the registration request by clicking on the "Send to review" button. The application process takes about 1-2 days. You will receive an email and will be able to view the status of your order in your Apple Business Register account.

If your application is rejected, you will need to verify the data again, make the necessary corrections and resubmit the application.
After receiving approval, your account status will change to "Integration & Testing".
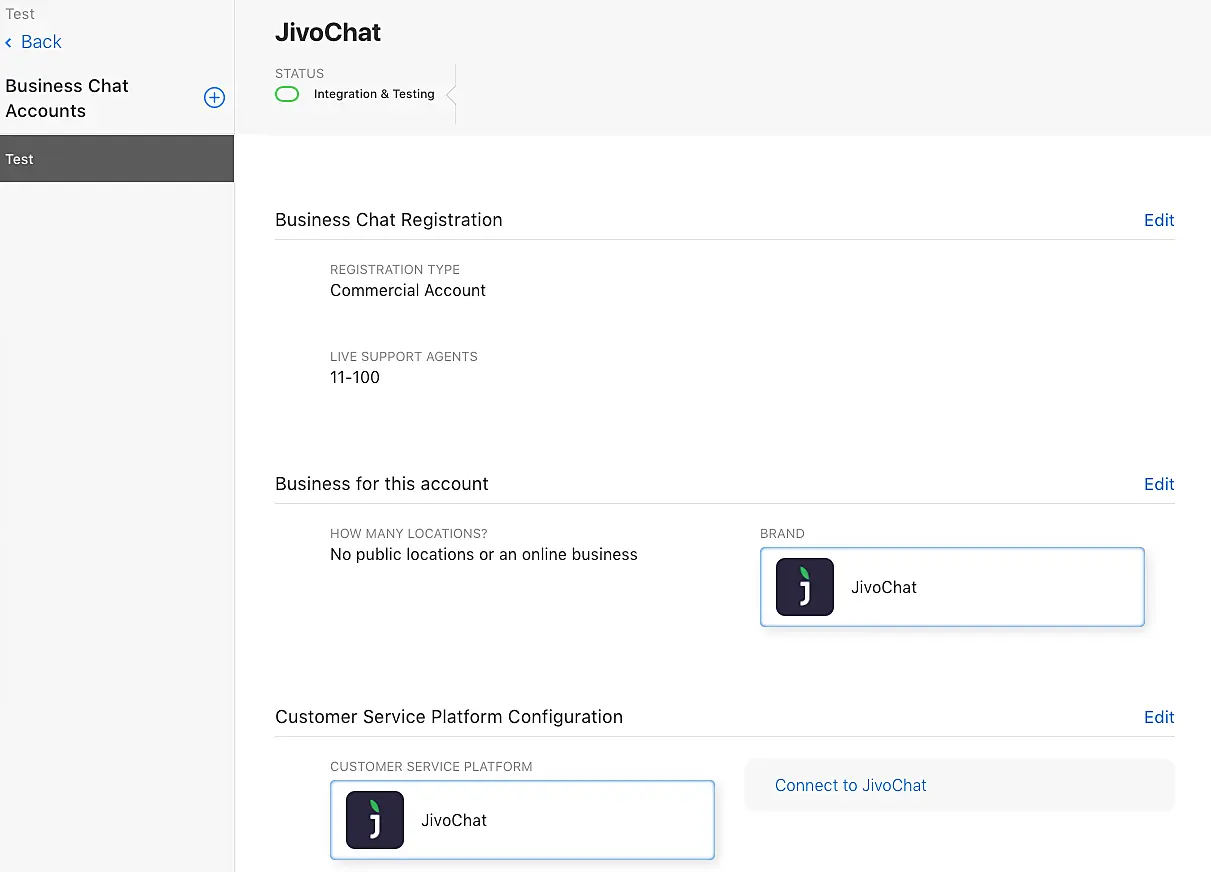
In this step, you will finally be able to connect to JivoChat. Open your Business Chat account settings and go to "Customer Service Platform Configuration" section -> click "Connect to JivoChat".
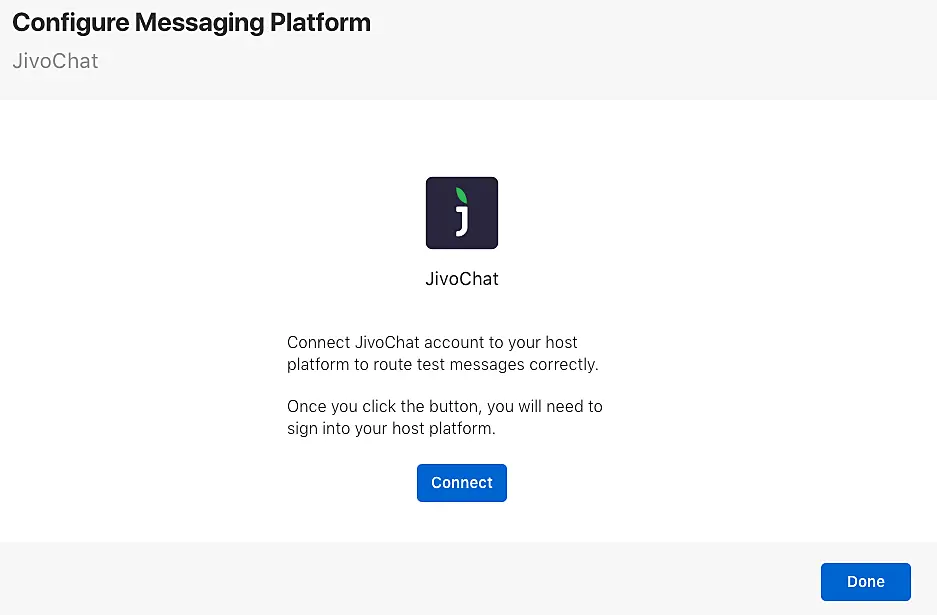
Click on "Connect to JivoChat". Our web app will load on the new communication channel creation screen.

After clicking "Connect Apple Business Chat", you will have a new Apple Business Chat channel in the JivoChat app. Test the integration by sending a few messages to yourself through your website using an iPhone or iPad.
Okay, now just take advantage of JivoChat to respond to your visitors via Apple Business Chat.

