

How to connect your own WhatsApp number to JivoChat with SendPulse provider
In this tutorial, you will learn how to connect your own WhatsApp number to JivoChat through the official WhatsApp Business API.
Current Integration Limitations#
- Once your number is connected to the official WhatsApp Business API, you can never use it again in the common WhatsApp Business app on mobile.
- If you reconnect this number to the WhatsApp application on your cell phone, you will lose all connections made through the API and its functionalities.
- It is not yet possible to send active messages (Template Messages) to your clients via JivoChat with this connection, this feature will be added soon.
Requirements to connect your number to the API#
- Have a Sendpulse account, create yours here
- Update your Sendpulse account, learn here
- Check Facebook Business Manager, learn how to check it
- Have a JivoChat Pro license
- Make the monthly payment for the WhatsApp channel in your account, click here to pay
- Disconnect the number that will be used in the integration of your WhatsApp Business application on your cell phone
Starting your number connection#
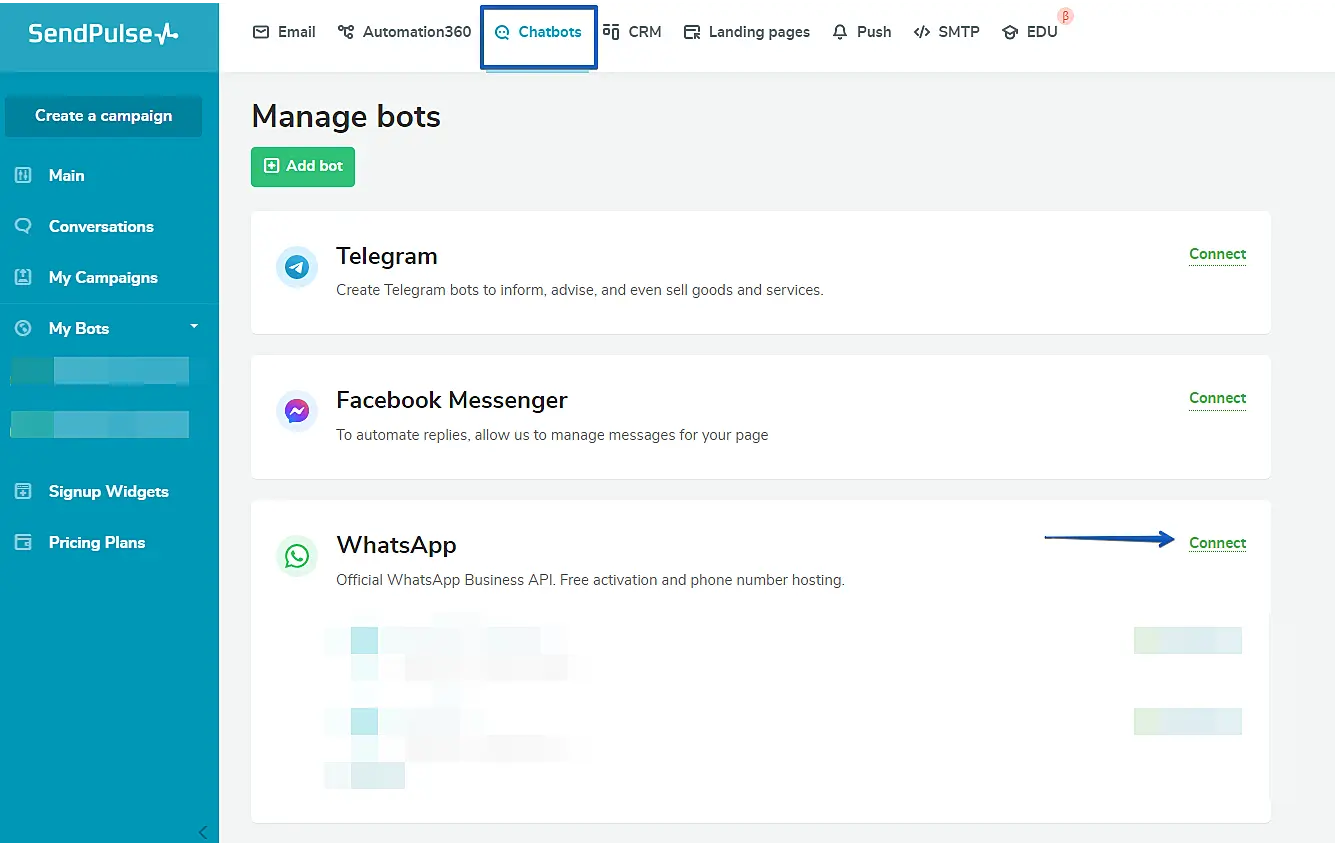
Log in to your Sendpulse account at this link and go to Chatbots > WhatsApp > Connect
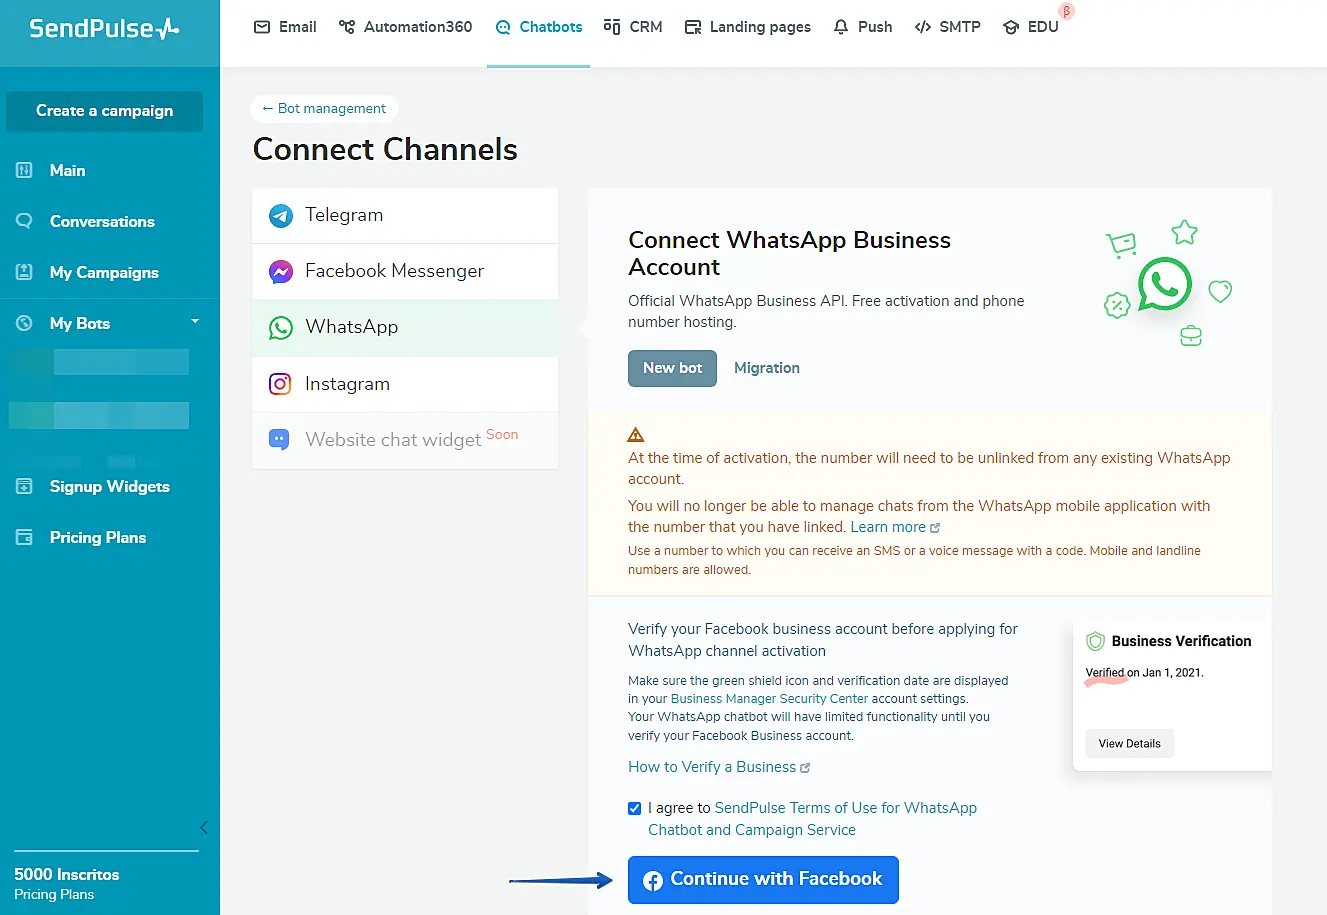
Once your account has been updated, you will see the screen below, check the checkbox to accept the terms of use of the official WhatsApp API. Once selected, you will click Continue to Facebook .
After clicking, you will perform the following steps:
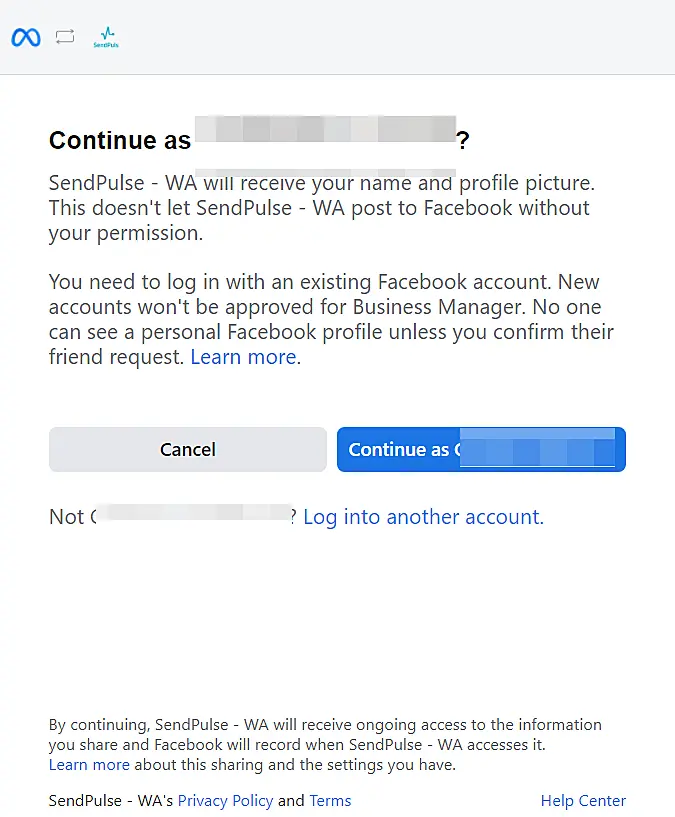
Please continue as "xxxxxxxxxxxx", and this account should be the one containing your verified Facebook Business Manager.
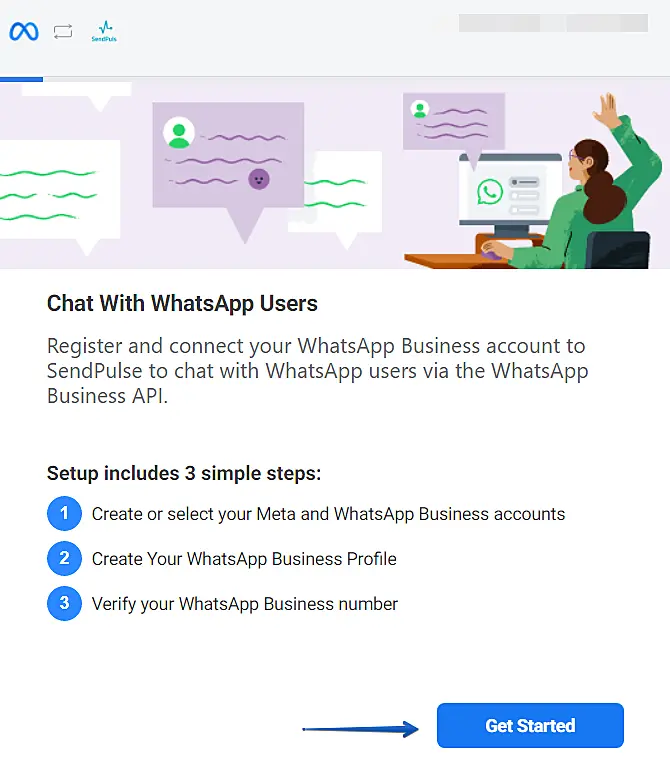
Then click the blue button Get Started
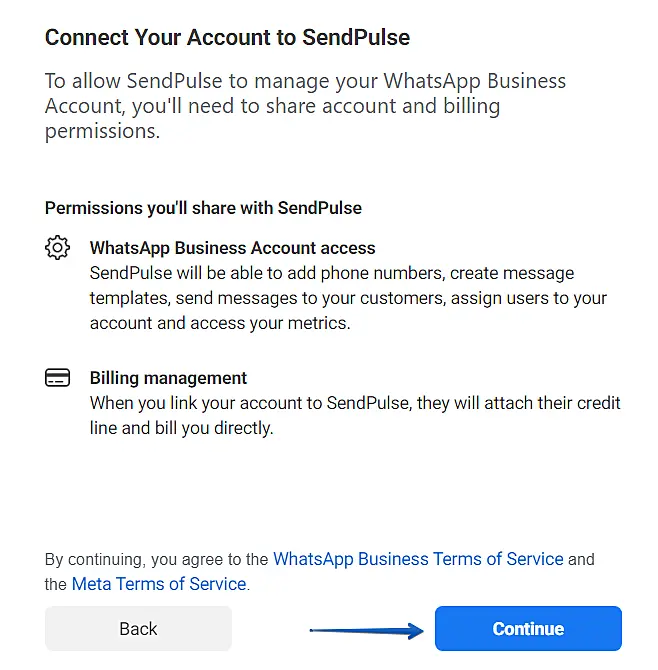
On the next screen, allow Sendpulse to manage your WhatsApp accounts within Facebook and create a connection between your Facebook Business Manager account with Sendpulse. To do this, click Continue
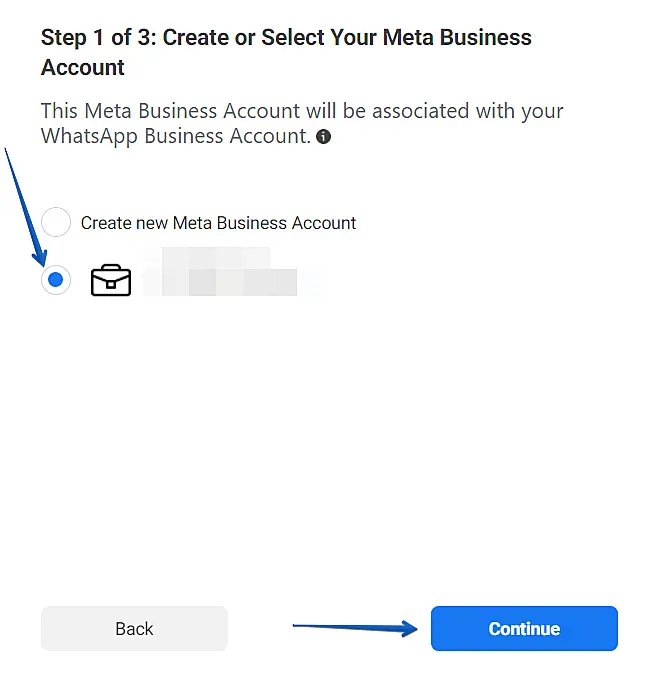
On the next screen, you will choose your Facebook Business Manager that you want to connect to the official WhatsApp Business API. After selecting it, click Continue.
Creating your Facebook and WhatsApp business accounts#
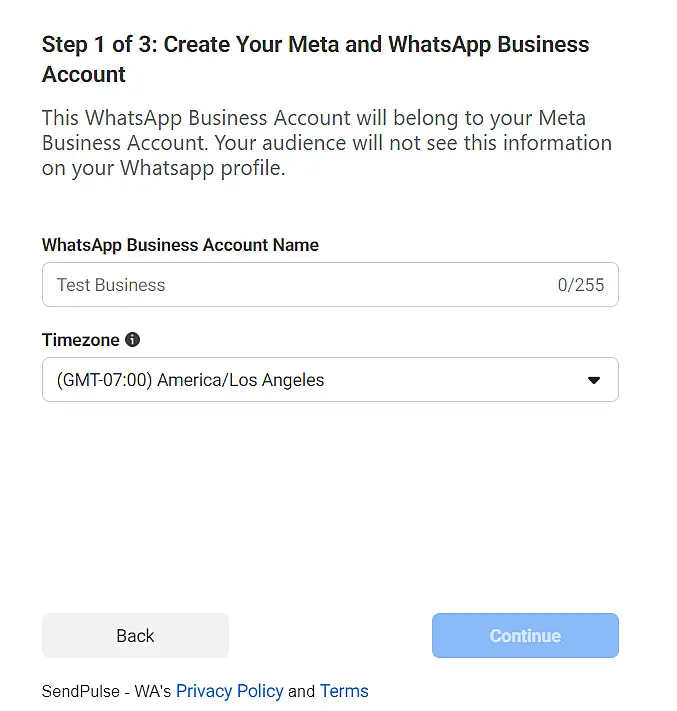
On the next screen, you will choose the name of your WhatsApp Business account and the time zone of your account. The best name to choose from this option is the name of your own company. After typing, click Continue.
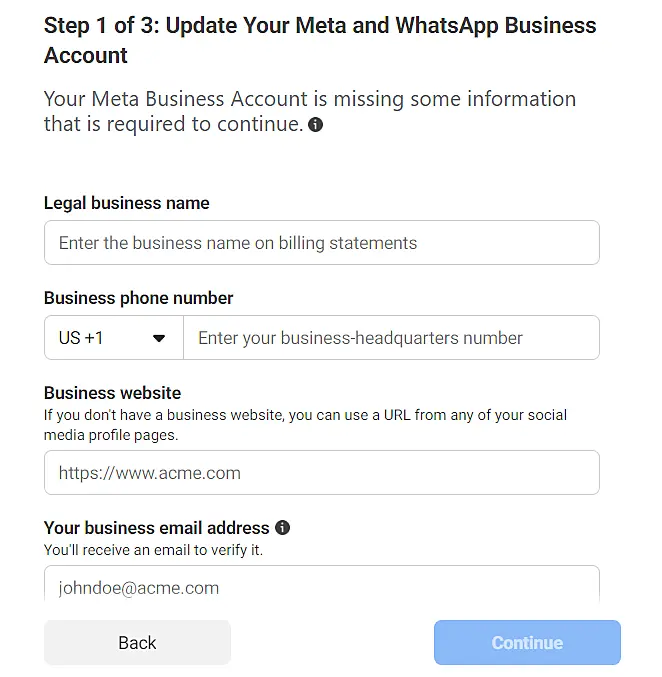
Then, add other data like country, address and click on continue.
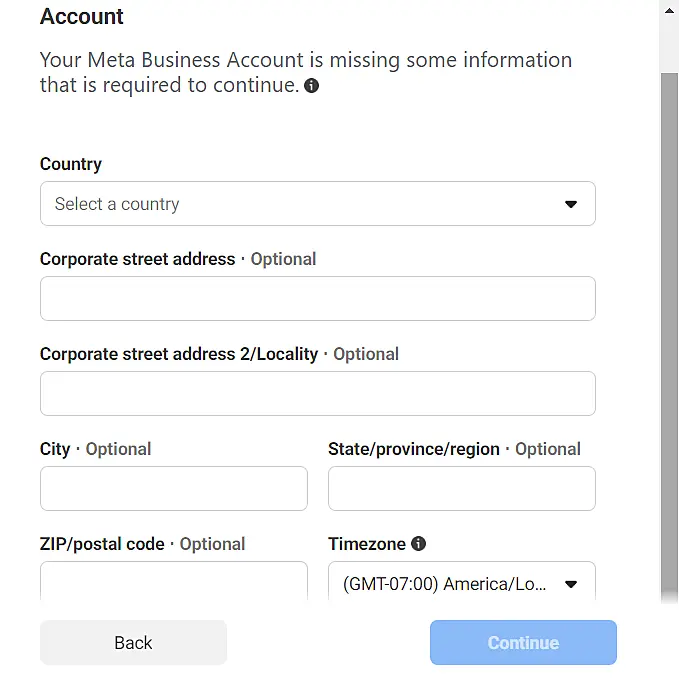
Now add a name and the timezone.
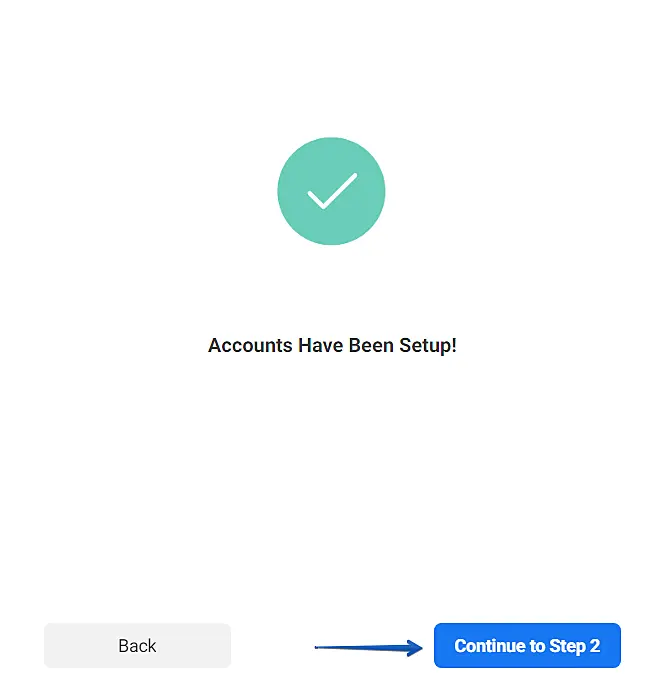
Ok, after that, you will see the following screen. Simply click Continue to Step 2.
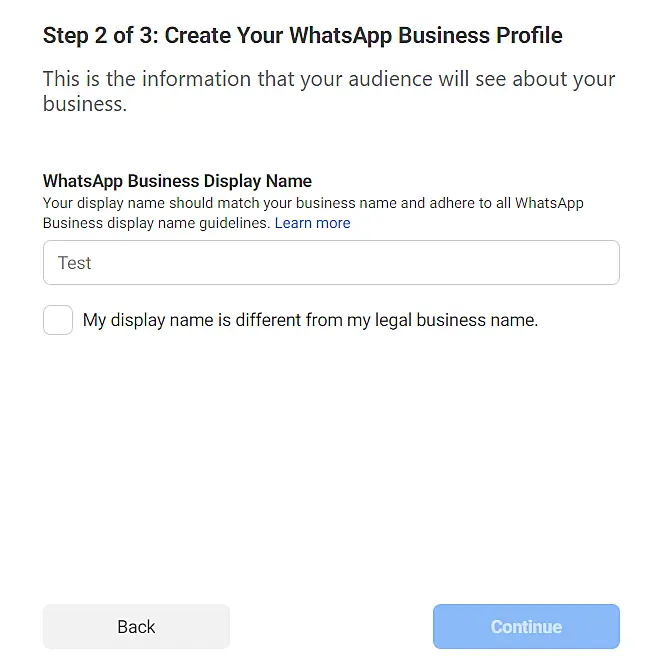
Creating your WhatsApp Business profile#
In this section, you will choose what your visitors will see when they contact your company through WhatsApp.
- The display name that will appear to your customers is recommended to be very close to your corporate name, to prevent your profile from being denied.
- There is the possibility of selecting the box confirming that the chosen name is not similar to its company name.
- Add your company's website to make it easy for your customers to access your Internet networks.
To continue, click the blue Continue button.
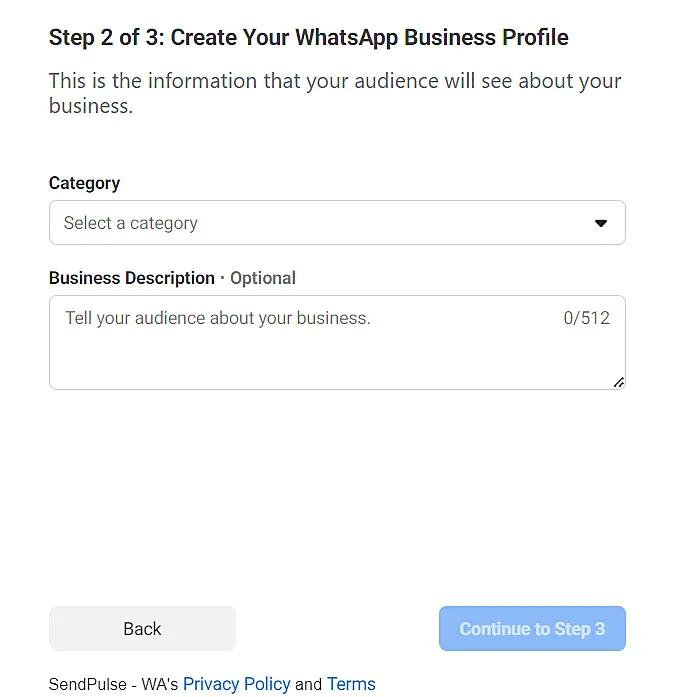
Also at this stage, you must choose the category of your business, this part is very important to be similar to your company profile so that your WhatsApp profile is more professional and does not confuse your customers when they contact you for the first time.
Next, you can enter a description about your business.
After that, click the button to Go to Step 3.
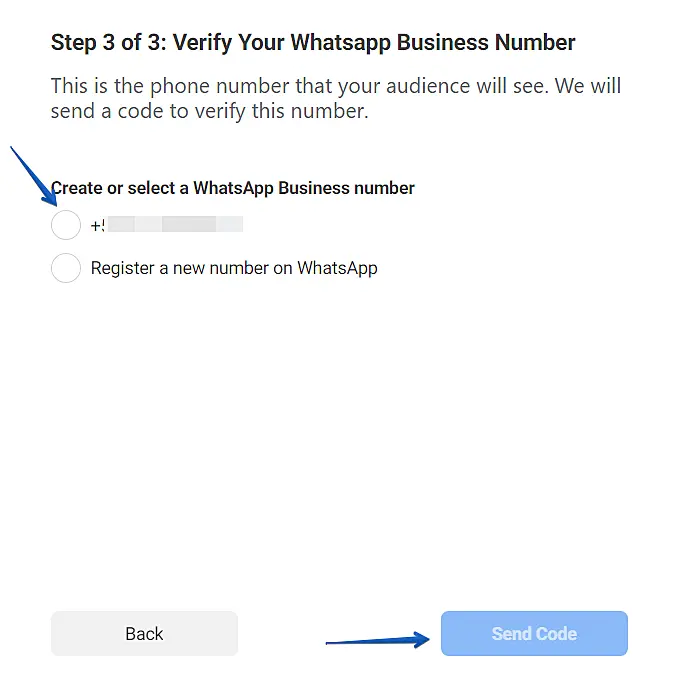
Verifying your phone number for WhatsApp Business#
Please register your new WhatsApp number in this step and make sure you are logged out from any WhatsApp app on your mobile otherwise you will not be able to connect it.
Then enter the WhatsApp number by choosing the country code, the region of the country and the full number.
To verify your number, we recommend that you choose the Voice Call option for landline numbers and if it is a number that is enabled on a mobile phone, the SMS option will work fine.
Once done, click Submit Code.
That's it, after your number is verified, you can go to the next step to connect this new number to JivoChat, to start your first interactions with your team's customers through JivoChat.
Connecting your number to JivoChat#
After the whole process of connecting your number to the official WhatsApp Business API has been done, you will now connect this same number to JivoChat.
Go to your Sendpulse Dashboard and go to Chatbots > My Bots > (Your Bot Name) > Bot Settings.
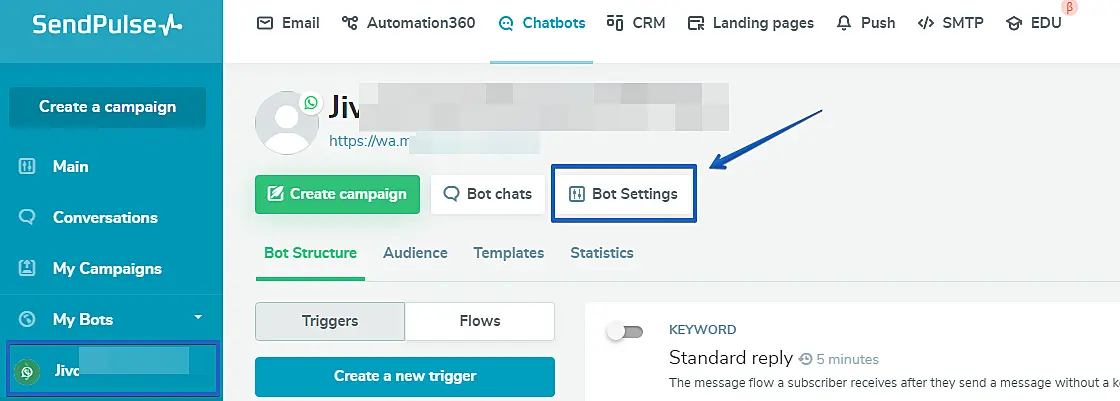
Upon signing in, you'll click Integrations > Enabled
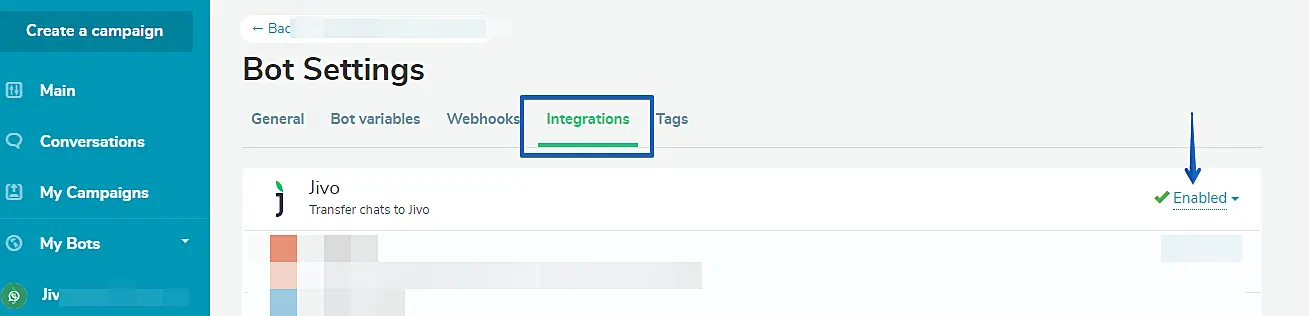
After that, a screen will open for you to enter your registered JivoChat email and password. You must have administrator privileges within your JivoChat account.
Once done, you will see that the button will change to "Enabled" and a new Chat API channel will be created within your JivoChat, as shown in the image below.

Great! Send a test message to your new number and receive all messages within JivoChat. Remember to delegate operators so that the messages arrive correctly.
Now you can start selling more through WhatsApp Business
Happy chats!

